
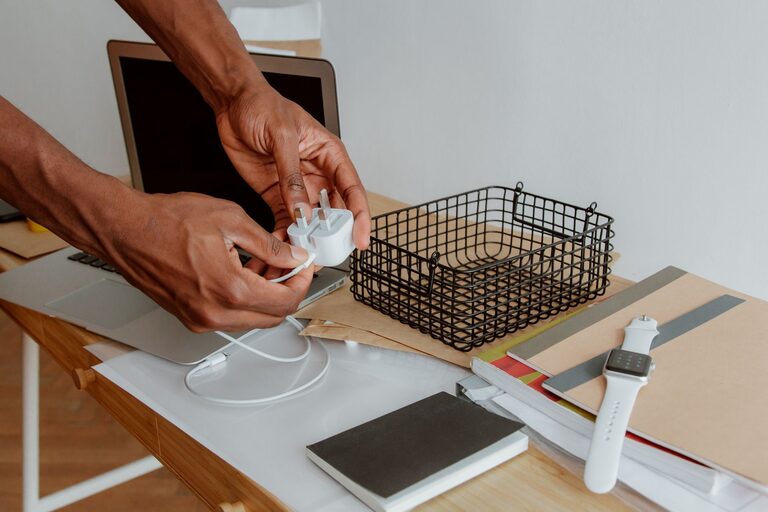
A pile of tangled cables can make any desk, drawer, or countertop feel cluttered. Chargers often get mixed together, cords disappear when you need them, and unused cables take up valuable space. The good news is that organizing cables does not require expensive equipment or complicated systems.
With a few simple supplies and a clear plan, you can create a neat setup that is easy to maintain. The goal is not only to make cables look better, but also to make them easier to find, use, and store.
Start by Gathering Every Cable
Before organizing anything, collect all of your cables and chargers in one place. Check desks, drawers, bags, nightstands, shelves, and storage boxes. Include:
– Phone and tablet charging cables
– Laptop power cords
– USB cables
– Headphone cables
– Extension cords
– Camera and game console cables
– Spare charging adapters
– Cables used for printers, monitors, and other devices
Place everything on a table or another open surface. Seeing the full collection makes it easier to identify duplicates and decide what you actually need.
Do not try to organize cables one drawer at a time. Gathering everything first gives you a better overview and prevents the same types of cables from being stored in several different places.
Sort Cables by Type and Use
Once you have collected the cables, separate them into basic groups. You can sort them by connector, device, length, or frequency of use.
Useful categories include:
– Daily charging cables
– Computer and desk cables
– Entertainment cables
– Travel chargers
– Specialty or occasional-use cables
– Cables that need testing
You can also sort cables by where they belong. For example, keep work-related cords near your desk, while travel chargers can go in a small pouch.
If you are unsure what a cable does, set it aside in a “check later” group. Avoid throwing away an unknown cable immediately. Test it with a compatible device or look for markings on the connector before deciding whether to keep it.
Remove Duplicates and Damaged Cords
Cable collections often grow because people buy replacements without removing older items. Compare similar cables and keep only the number you are likely to use.
A cable may be ready for recycling or disposal if it has:
– Exposed wires
– Split or cracked insulation
– Bent connectors
– Loose parts
– Signs of overheating
– A connection that repeatedly cuts out
Do not keep a cable simply because it might be useful someday. Keep a small backup supply if needed, but avoid storing several identical cords that serve the same purpose.
For cables that still work but are not used often, create a labeled backup container. This keeps them available without allowing them to clutter your everyday charging area.
Create a Dedicated Charging Station
A dedicated charging station gives frequently used chargers a permanent home. It can be placed on a desk, a shelf, a nightstand, or a kitchen counter.
A simple charging station may include:
– A power strip or charging hub
– A small basket or tray
– Cable clips or adhesive holders
– A nearby outlet
– Labels for different devices
Keep the cables long enough to reach the devices comfortably, but avoid leaving large loops on the surface. Use a clip or strap to hold extra length neatly.
If several people use the same charging area, assign each cable a specific position. This makes it easier to return cables after use and reduces the chance of cords becoming tangled.
Use Cable Clips and Ties
Small cable clips are useful for keeping cords in place on a desk or behind furniture. They can prevent charging cables from falling to the floor when disconnected.
Reusable hook-and-loop ties are also a practical choice. They are adjustable, gentle on cables, and easy to remove. Use one tie for each coiled cable rather than bundling many cords together.
Other helpful options include:
– Silicone cable bands
– Reusable twist ties
– Cable sleeves
– Desk grommets
– Cord organizers
– Small reusable bags
Avoid tying cables too tightly, especially near the connector. Tight bends and pressure can shorten the life of a cable. Coil cords loosely in a shape that does not strain the ends.
Label Both Ends of Similar Cables
When several cables look alike, labels can save time. A small label near each end can identify the cable without requiring you to follow it through a bundle.
Try labels such as:
– Phone
– Tablet
– Laptop
– Monitor
– Camera
– Travel
– Backup
For cables that connect two different devices, label both ends. For example, one end might say “monitor” and the other “computer.” This is especially helpful behind a desk or entertainment center, where connectors may be difficult to see.
You can use adhesive labels, small tags, or pieces of masking tape. Write clearly and replace labels if they become damaged or difficult to read.
Organize Cables in Drawers and Boxes
A drawer can become messy quickly if cables are placed inside without dividers. Use small containers, boxes, or drawer compartments to separate groups.
For example:
– One section for charging cables
– One section for power adapters
– One section for audio cables
– One section for computer accessories
– One section for travel items
Coil each cable separately and secure it with a reusable tie. Avoid placing loose cables in one large box, since they are likely to become tangled again.
A clear storage box can be helpful because it lets you see the contents without opening it. If you use an opaque container, add a label to the outside so you can find what you need quickly.
Manage Cables Behind a Desk
The area behind a desk often holds the largest number of cables. Start by unplugging and identifying each cord. Then reconnect only the equipment you currently use.
Bundle cords by destination rather than placing every cable in one large group. For example, keep computer cables together, monitor cables together, and power cords together.
You can improve the appearance and accessibility of the area by:
– Attaching cables to the underside of the desk
– Using a cable tray
– Securing cords along the back edge
– Keeping the power strip in one fixed location
– Leaving enough slack for cleaning and device movement
Do not hide cables so completely that you cannot reach them. A neat setup should still be easy to unplug, adjust, and inspect.
Prepare a Travel Cable Kit
A small travel kit prevents you from searching through your home for chargers before every trip. Choose a pouch with separate compartments or elastic loops.
Pack only the items you commonly need, such as:
– A phone charging cable
– A wall adapter
– A power bank cable
– Headphone accessories
– A short backup cable
– Any device-specific adapter
Label the pouch and keep it in a consistent location. After returning home, replace anything that was removed so the kit is ready for the next trip.
Make the System Easy to Maintain
Cable organization works best when it is simple enough to maintain. Return each cable to its assigned location after use. If a new cable enters your home, decide where it belongs before putting it away.
Every few months, review your collection. Remove damaged cables, test items in the backup group, and update labels as needed.
A few minutes of regular maintenance can prevent the return of a tangled cable pile. The best system is not the most elaborate one; it is the one that matches your daily habits and makes the right place obvious for every cord.
With thoughtful sorting, clear labels, and a few reusable organizers, cables and chargers can stay neat, accessible, and ready whenever you need them.
About the Author